Understanding the Water Damage Restoration Process
October 29 2025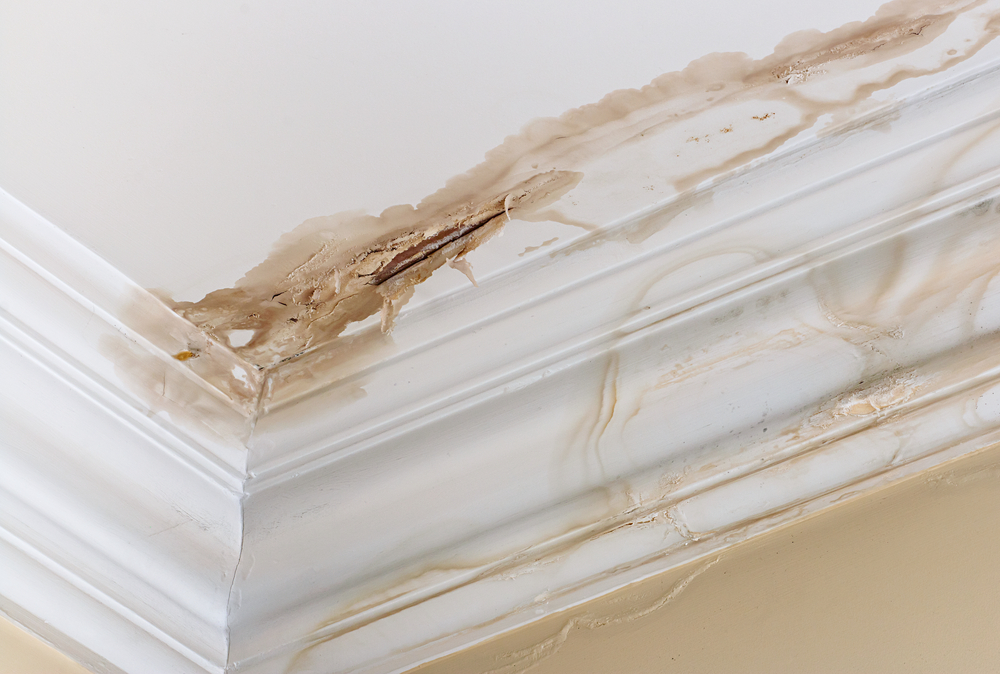
Finding water damage in your home is a stressful surprise. The first thing to know is that there’s a proven, step-by-step process to handle it. No matter the source, from a broken pipe to a flooded basement, restoration experts follow a clear plan to dry, clean, and repair your space.
Step 1: The Initial Inspection and Assessment
The restoration team will first determine the full extent of the damage. They will start by finding the source of the water and making sure it is stopped so that no more damage occurs. Then, they will assess your home, checking the floors, walls, and any belongings that have been affected.
A significant part of this assessment involves determining the type of water that caused the damage. This helps determine what precautions are needed:
- Category 1: Clean Water – This category includes sources such as a leaky faucet or rainwater.
- Category 2: Gray Water – Water with some contamination. This can be from a dishwasher or a washing machine.
- Category 3: Black Water – Highly contaminated water from sewage backups or floodwaters. This type of water is dangerous and requires special care.
This assessment helps the restoration experts develop a plan tailored to your situation.
Step 2: Removing the Standing Water
Professionals use powerful pumps and industrial vacuums to remove all standing water. If water sits too long, it causes even more damage and creates a perfect environment for mold to grow.
The team will carefully extract water from every area. This includes hidden spaces like under floors and inside walls. This thorough extraction helps prevent long-term issues.
Step 3: Drying and Dehumidifying What’s Left
After the standing water is gone, the team will deal with the moisture that has been absorbed by porous materials like drywall and wood. This is where the heavy-duty equipment comes in. Professionals use industrial air movers to circulate air and powerful dehumidifiers to pull the water vapor right out of your home’s structure. Thorough drying is what stops long-term problems like mold and structural damage before they can start.
Step 4: Deep Cleaning and Sanitizing
The crew will sanitize every inch of the affected area, wiping down surfaces with professional-grade cleaners that kill germs and mold. Then, they will finish by scrubbing the air itself to remove any lingering odors. This will leave your home smelling clean and feeling healthy.
Step 5: The Final Repairs and Restoration
Depending on the extent of the damage, this could involve anything from replacing a section of drywall to completely reinstalling flooring or repairing structural elements.
The goal here is simple: to make your home feel like “home” again, with no sign of the water damage that occurred. This is the final touch to getting everything back to normal.
Why Acting Quickly Is Your Best Move
When it comes to water damage, time is of the essence. The faster you act, the less damage you will face. A quick response not only minimizes structural damage but also dramatically reduces the risk of mold growth, which can begin in as little as 24–48 hours.
Calling a professional right away can save you time, money, and stress in the long run. The faster the water is removed and the area is dried, the better the chances are of getting your home restored without major setbacks.
For more on water damage restoration, visit Alliance Water Restoration. Our offices are in Washington, Maryland, and Virginia. Call (703) 542-5930 to schedule an appointment today.
https://safetyculture.com/topics/water-damage-restoration
https://atirestoration.com/blog/water-damage-restoration-process/